Manage job timestamps
Overview
When a mobile user progresses a job on their device, a timestamp is recorded for each status change, capturing the exact time of each transition.
In certain situations, you may need to adjust the transition time. For example, you might make a transition earlier or later than intended due to a mistimed button press, a missed action, or connection issues.
By default, the Manage Times feature is enabled so you can modify the transition times to ensure accurate reporting or billing.
However, some organizations may require a locked-down audit trail for these transitions and may want a supervisor’s approval for any timestamp edits. Therefore, administrators have the option to disable this feature based on the team’s requirements.
Prerequisites
-
An administrator has enabled the Allow resources to change the job status timestamps option in the web app admin settings.
-
The job status must be In progress or Complete.
Manage times using the Skedulo Plus mobile app
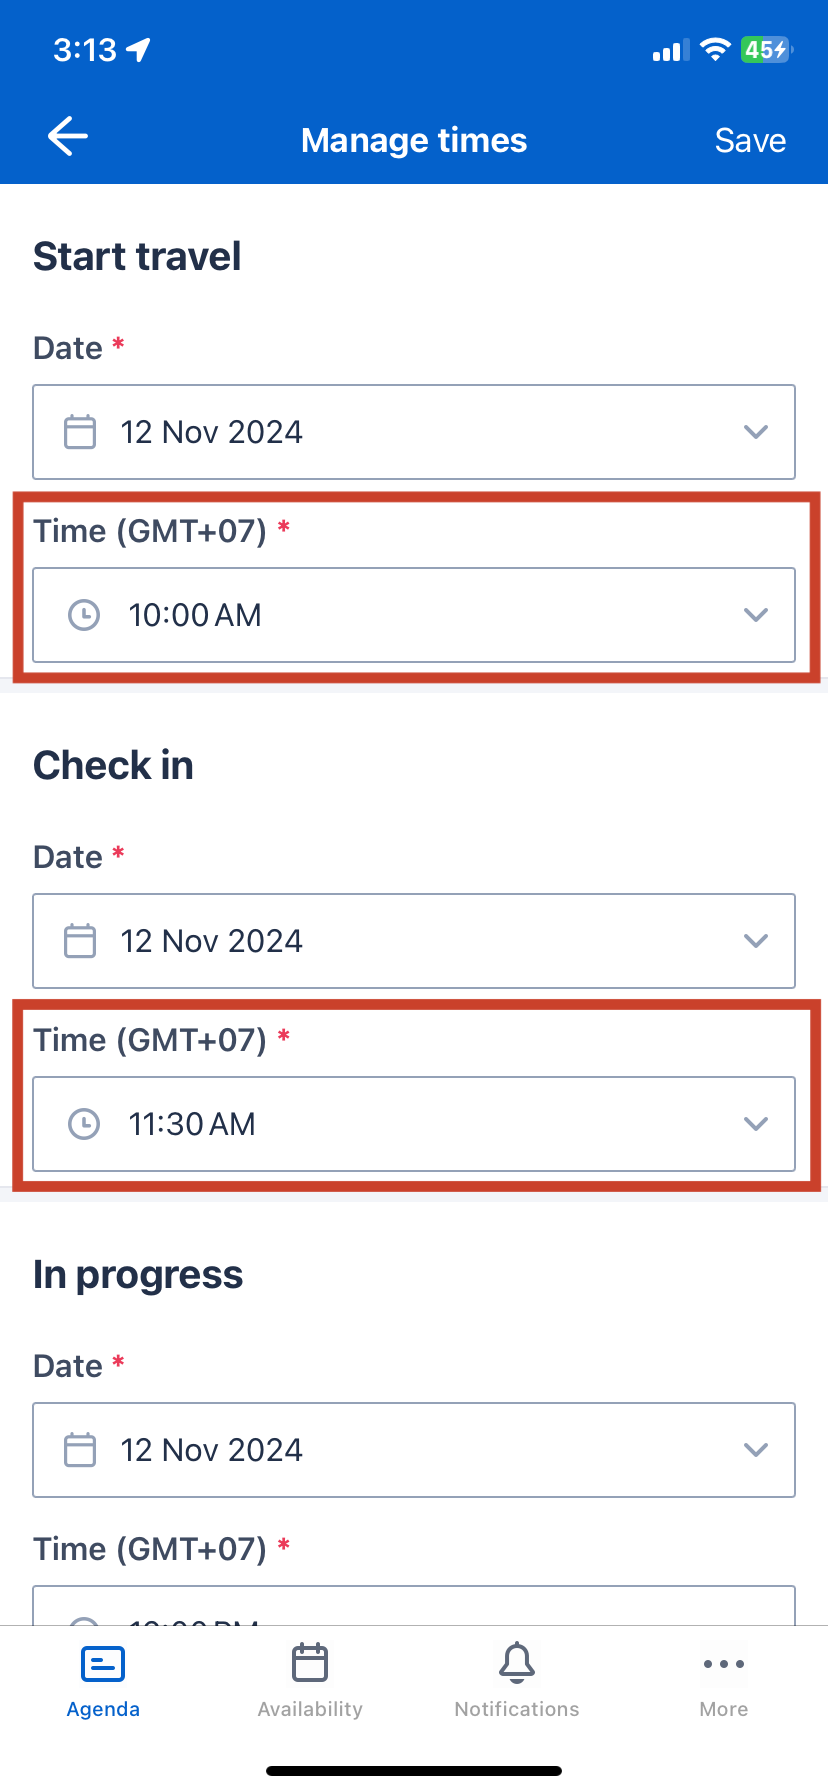
You can modify the timestamp for the following job statuses once they’ve passed and been recorded:
-
Start Travel.
-
Check-in.
-
In Progress.
-
Complete.
To manage times (or dates) within Skedulo, complete the following steps:
-
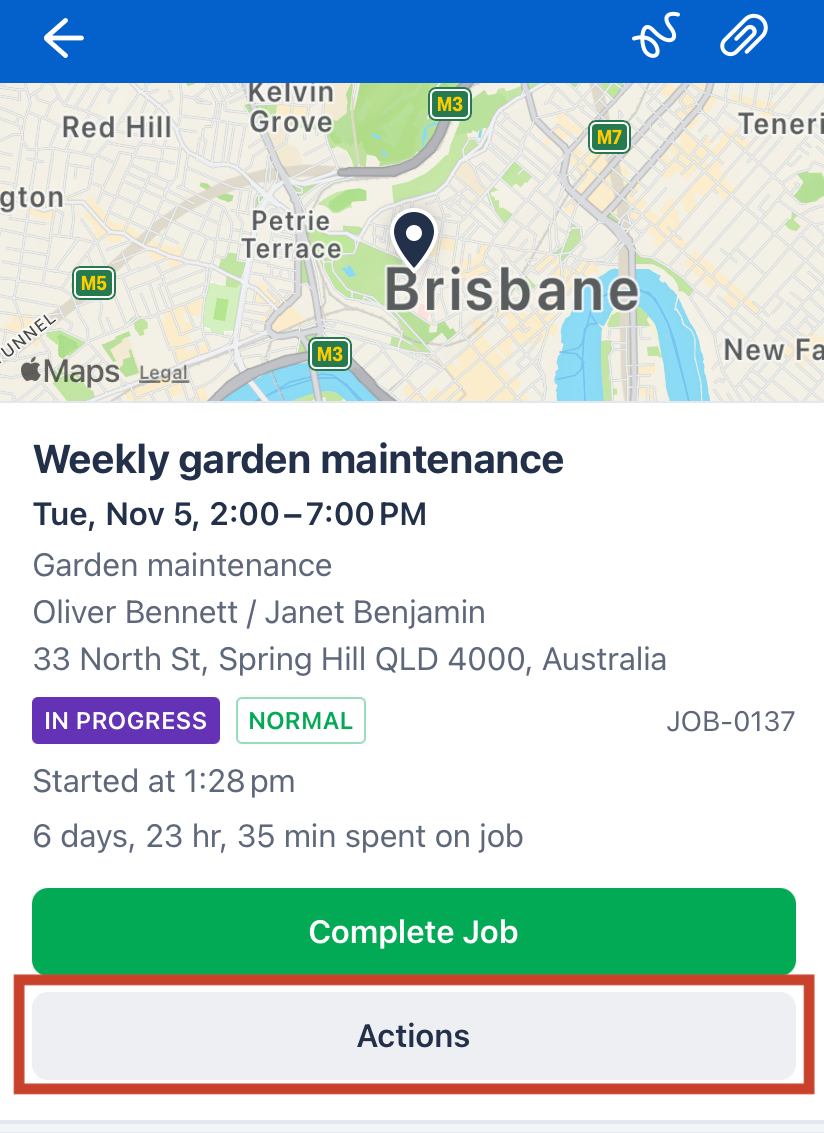
After a job has been accepted and progressed to a state of In Progress or Complete, tap Actions.

-
Tap Manage Times.
-
Identify and tap on the time that needs to be adjusted.

-
Adjust the time as required using the date and time pickers. Then tap Done.
-
Tap Save in the top-right to save your changes.
The adjusted time will now be displayed in the job’s details.
These time settings can be adjusted at any point by reopening the job and tapping Actions.
Note
If a custom job workflow is applied, any skipped job allocation states will not be available to manage. For example, if Start Travel is skipped, it will not appear in the managed times view.Related links
Feedback
Was this page helpful?