Manage unavailability
Overview
The Skedulo Plus app allows mobile users to view and manage their unavailability based on the team’s mobile app settings and the permissions granted by their organization’s administrator.
You can view your current unavailability schedule, request time off (unavailability), or request more work (availability). You can also view and manage your pending requests.
This is particularly useful for casual or part-time workers who may be unavailable to work on one or many days due to their schedule or other personal reasons.
Prerequisites
- Administrators must grant you the required permissions. For further information, refer to Grant availability permission to resources.
- Administrators must enable the Allow resources to create their own one-off unavailability requests setting in the web app admin settings.
Types of unavailability
Unavailability can include sick leave, annual leave, or any other reason why a user is not available to work.
By default, the following unavailability types can be used in the Skedulo mobile app:
- Sick
- Leave
- Occupied
Request unavailability
To request time off in Skedulo Plus, do the following:
-
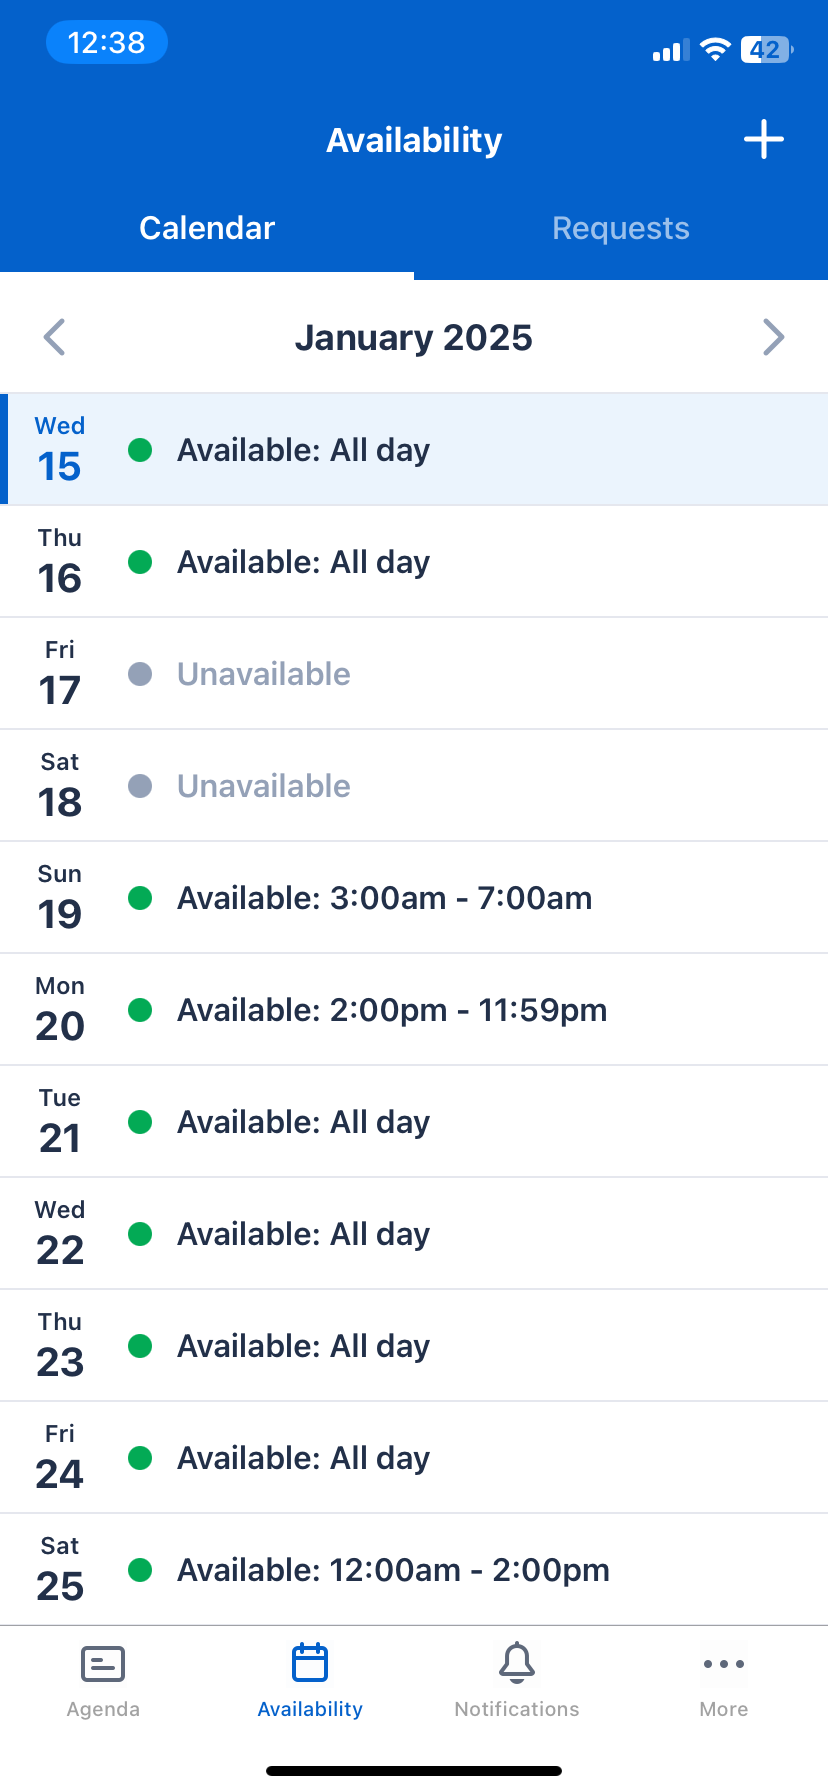
In the Skedulo Plus mobile app, tap Availability on the navigation bar.
This shows the availability calendar with your current availability.
-
Tap the + button in the top right corner of the screen to create a new request.
-
Tap One-off unavailability request to open the request form.
-
Complete the details of the unavailability request. The fields are as follows:
- Unavailability type: Select the type of unavailability from the drop-down list.
- All day: Toggle this option if the unavailability is for the whole day. By default, this is On. Toggle this option Off to select the start and end times of the unavailability.
- Start date or Start date and time: Select the start date of the unavailability. If you are not requesting to be made unavailable for the entire day, select the start time for the period of time off as well.
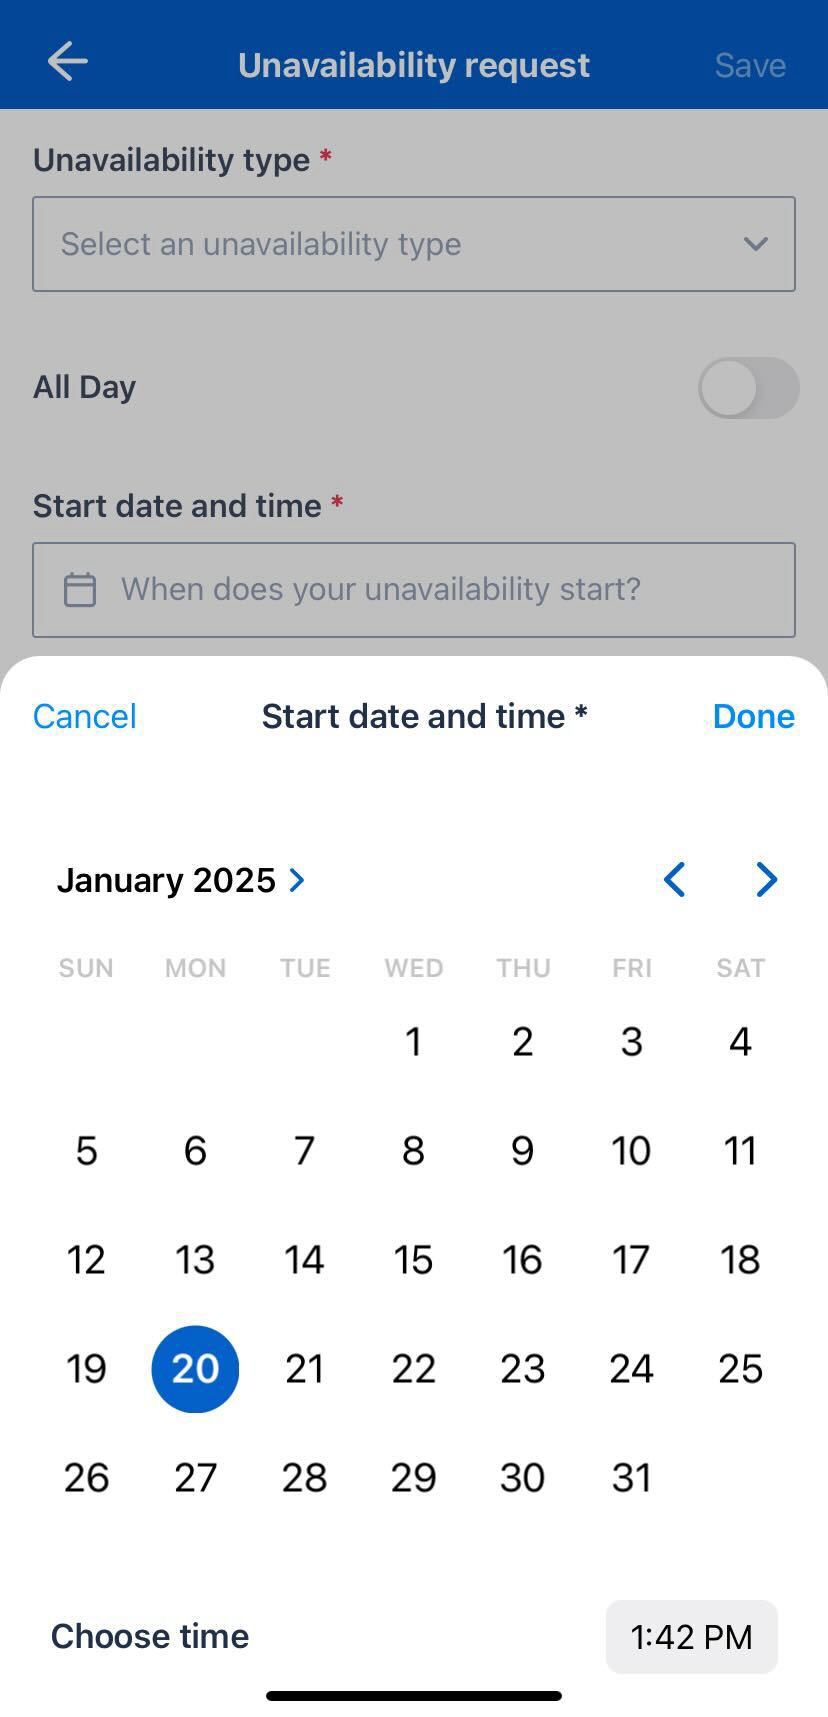
- End date or End date and time: Select the end date of the unavailability.
- Notes: Enter any notes about the unavailability.
-
Tap Save to submit the unavailability request.
View one-off unavailability requests
To view your one-off unavailability requests in the Skedulo Plus mobile app, do the following steps:
-
In the Skedulo Plus mobile app, tap Availability on the navigation bar.
-
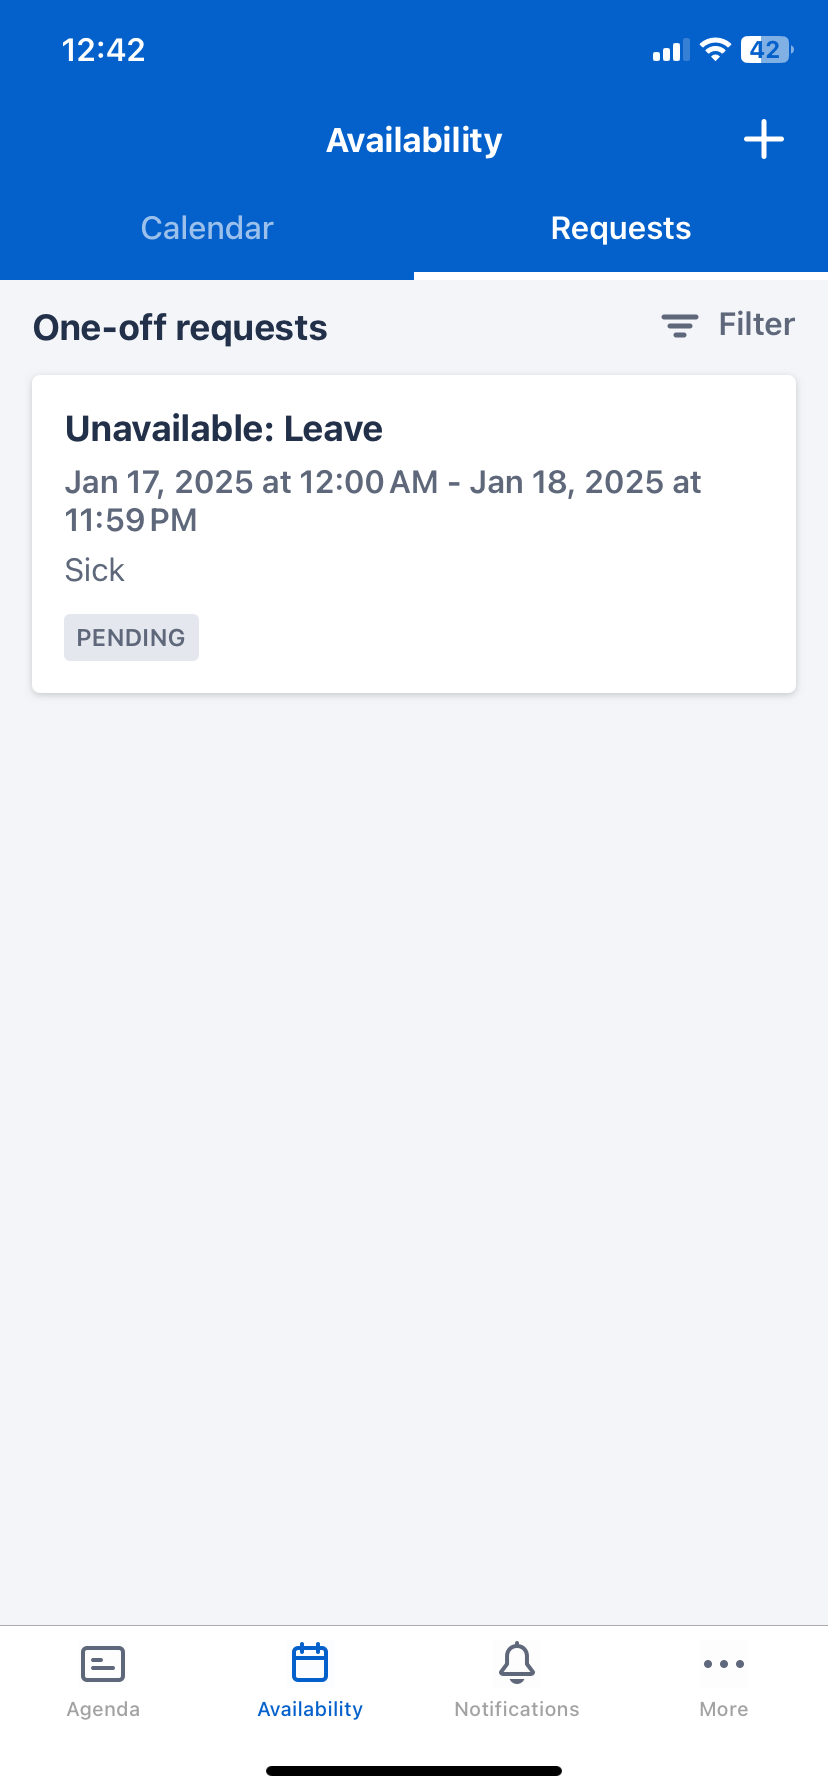
Tap Requests to switch to the Requests screen.
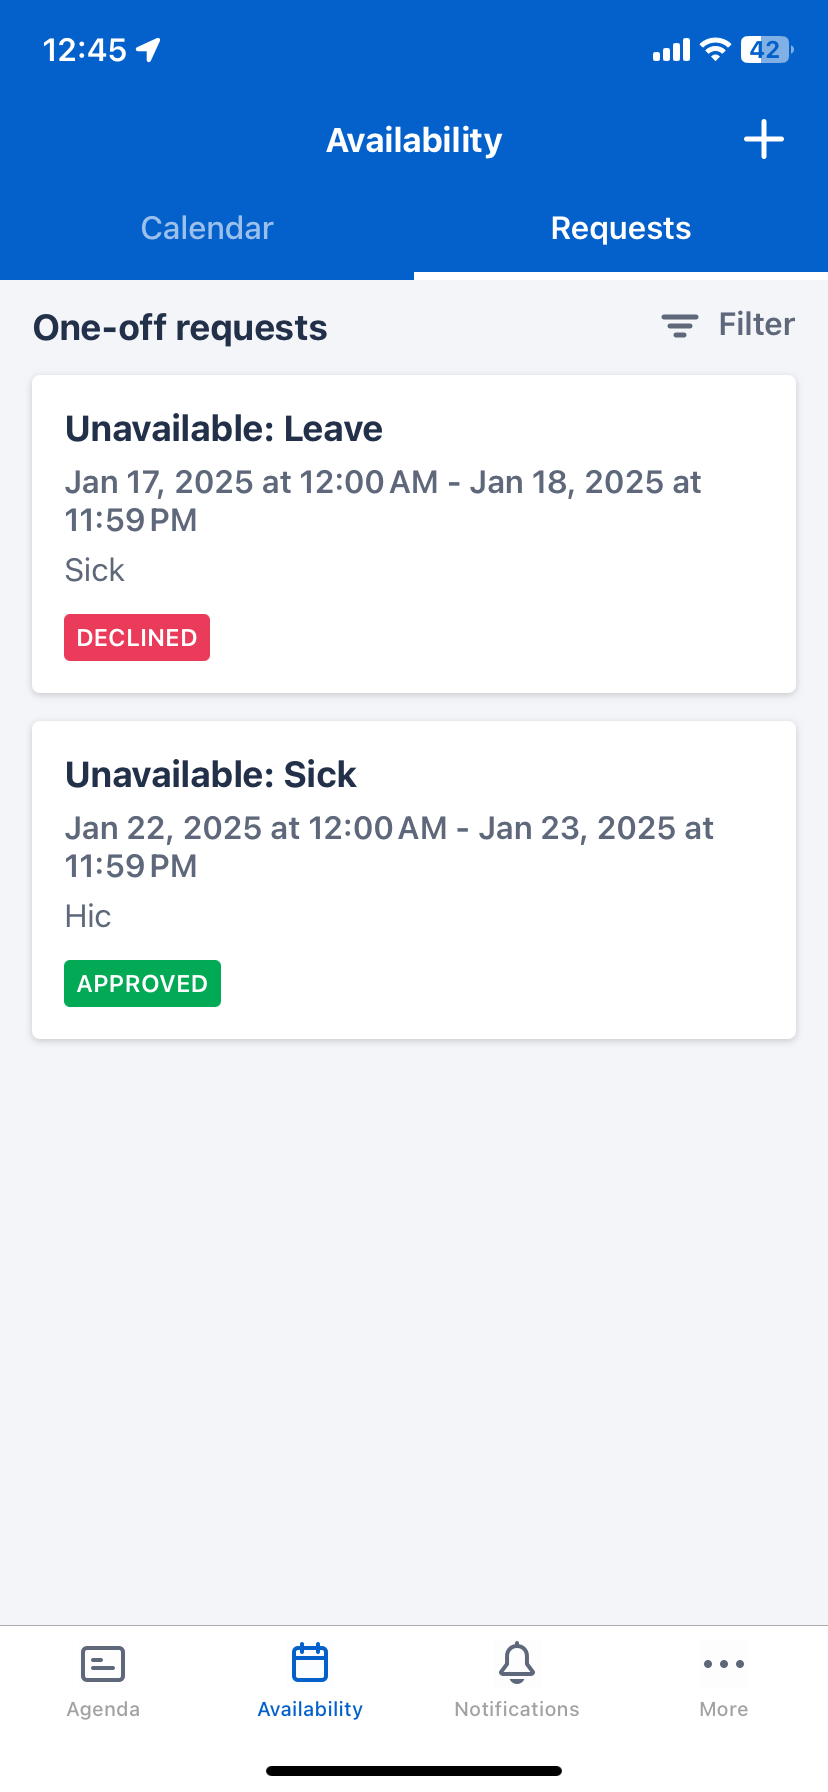
By default, the screen shows all upcoming requests.
a. To filter requests by their status or to view past requests, tap the Filter button in the top right corner of the screen.
b. To view the details of a request, tap to open the request in the list.
This shows the details of the request, including the status, the dates and times of the unavailability, and any notes.
When requests are approved or denied by schedulers or administrators, the request will automatically update in the Skedulo mobile app. The status of the request will change to Approved or Denied.
Edit a pending unavailability request
While an unavailability request is pending, you can edit the request.
Note
Only pending requests can be edited. If the request has been approved or denied, you cannot edit the request.To edit a pending request, do the following:
-
In the Skedulo Plus mobile app, tap Availability on the navigation bar.
-
Tap Request. Then, open the pending request that you want to edit.
-
Tap the Options (
 ) menu button.
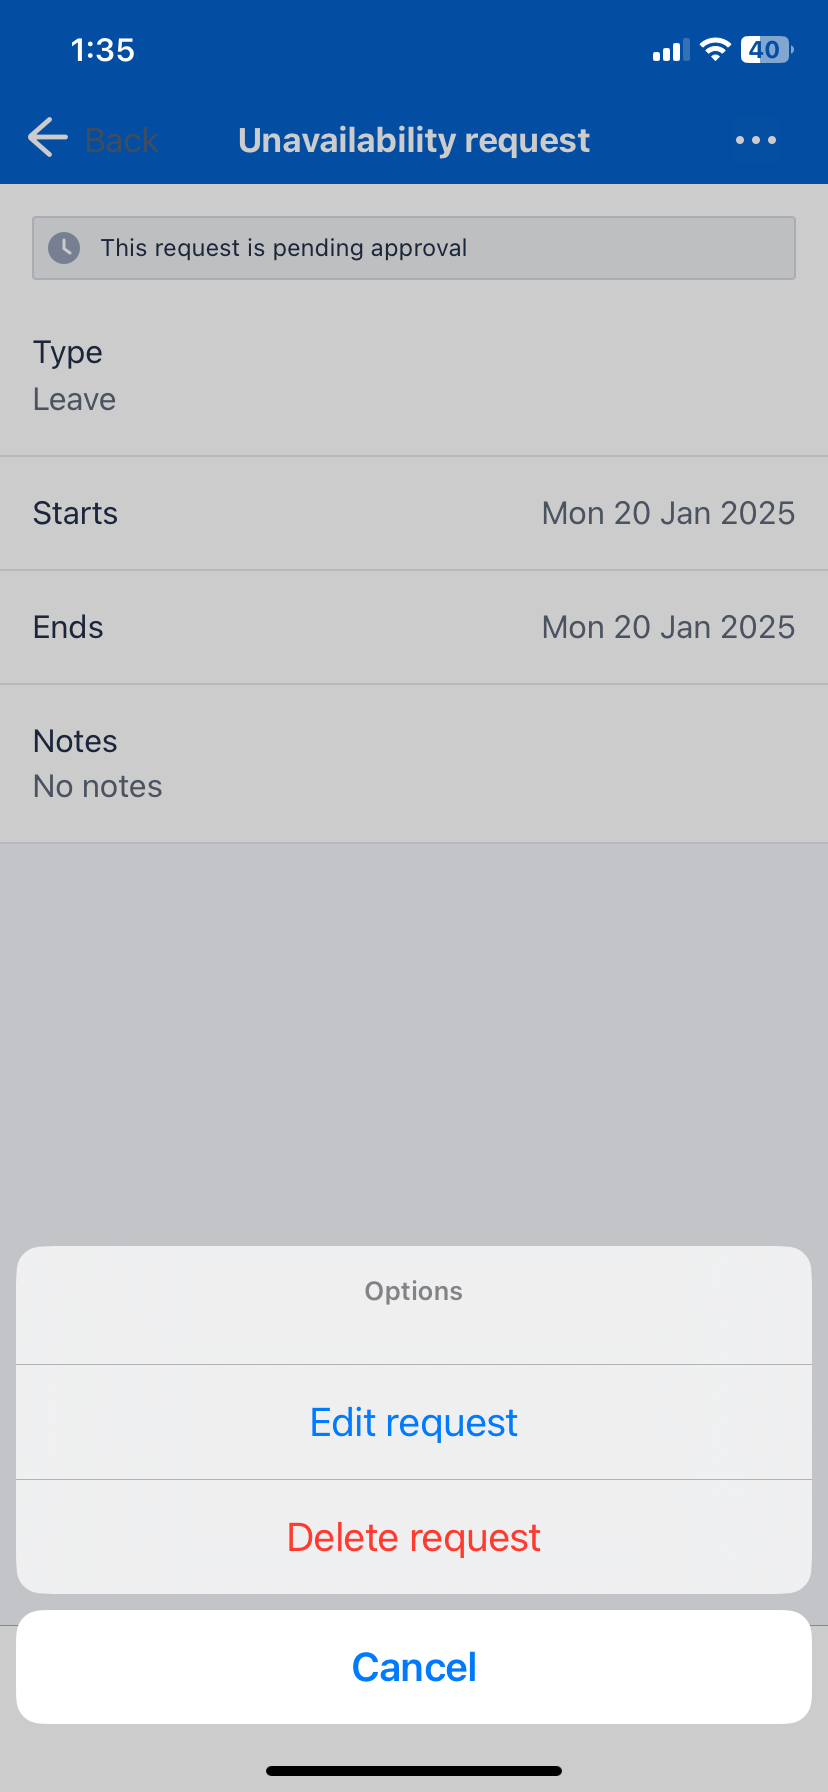
-
Tap Edit request.
-
Make the changes to the request, then tap Save to submit the changes.
Delete a one-off unavailability request
You can delete unavailability requests, regardless of whether they are pending, approved, or denied.
Note
-
You can delete all pending requests and approved or declined requests for days that have not yet occurred (upcoming requests).
-
You cannot delete approved or declined requests for past days.
To delete a request, do the following steps:
-
In the Skedulo Plus mobile app, tap Availability on the navigation bar.
-
Tap Request. Then, open the pending request that you want to edit.
-
Tap the Options (
) menu button.
-
Tap Delete request.
-
When prompted, tap Confirm to confirm the delete request. This will remove the request from the list.
See also
Feedback
Was this page helpful?