Create a basic form with Form Builder
Overview
You can easily create a basic form using Form Builder with new data. Basic forms are intended for those who don’t have an existing object to associate with the data.
You can create up to 40 mobile forms using the web-based Form Builder for your Skedulo Plus mobile application.
This document shows you how to create a basic form using Form Builder in the Skedulo Pulse Platform.
Prerequisites
You must be an administrator or a user with the following permissions:
- Configuration > View organization settings
- Configuration > Modify organization settings
Create a new mobile form
Follow these steps to create a new Skedulo Plus form:
- Navigate to Settings > Mobile app configuration > Mobile forms in the Skedulo web app.
- Click Create form in the upper-right corner of the page.
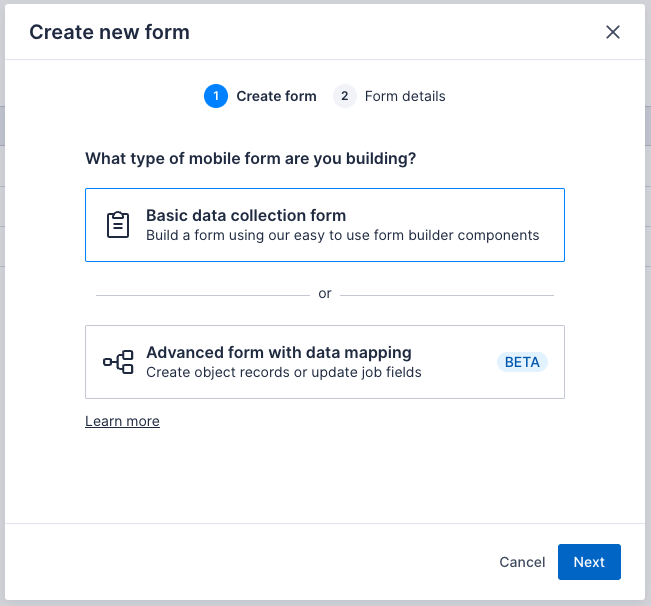
- The Create new form modal appears. Select Basic data collection form then click Next.

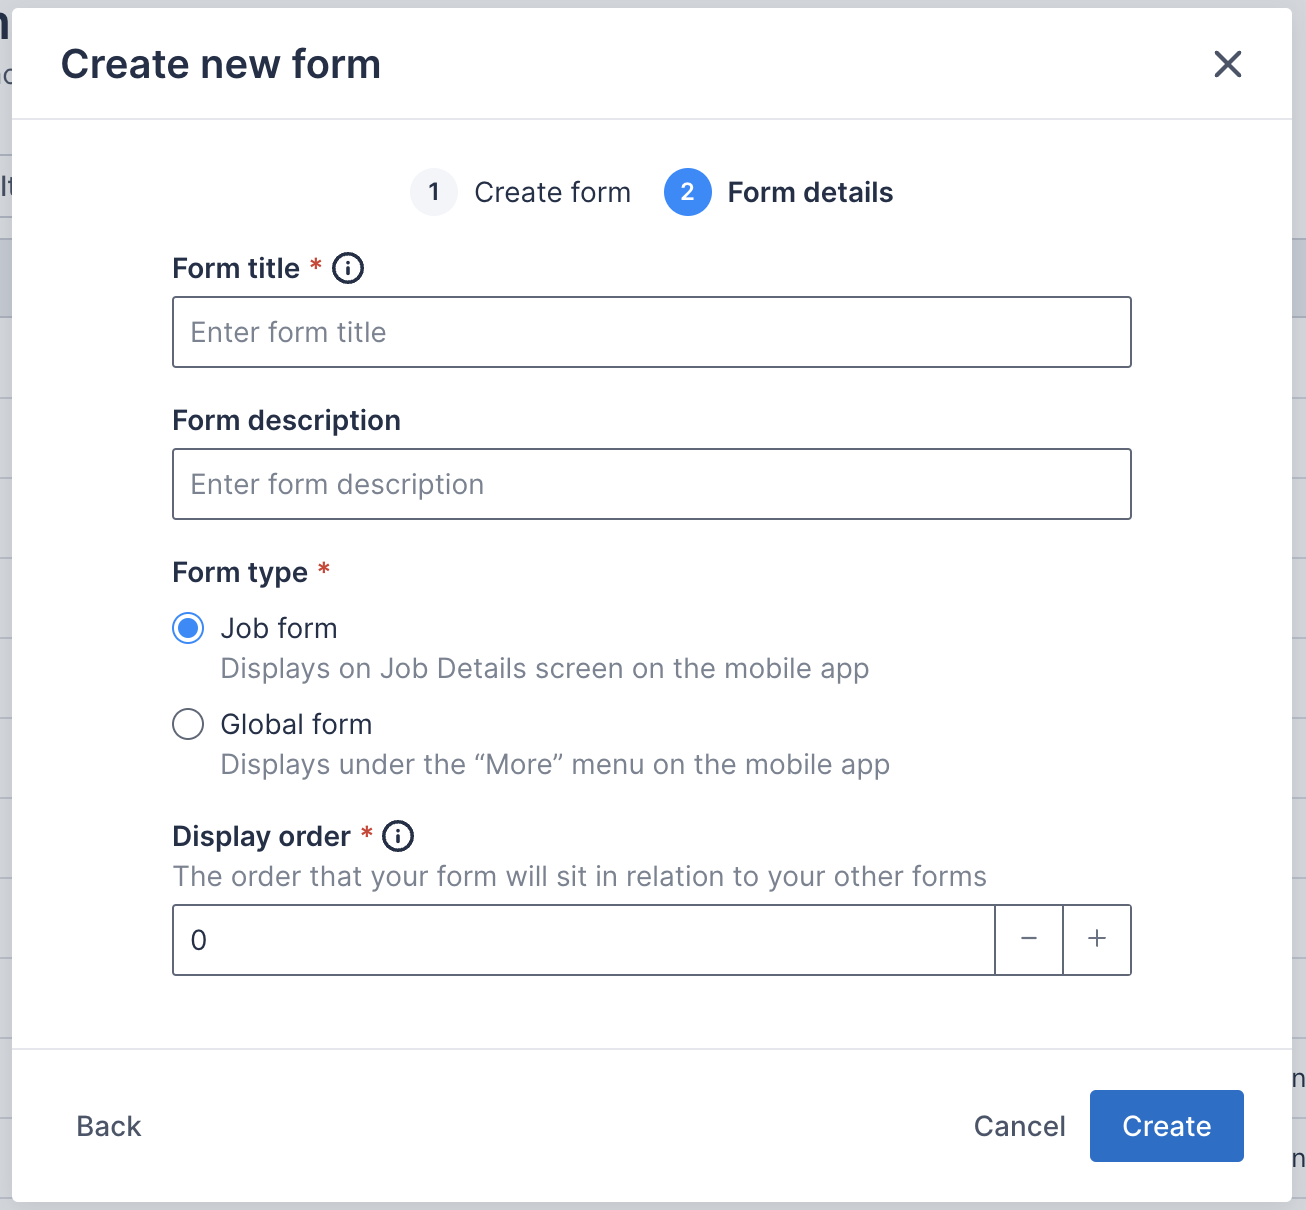
- On the Form details screen, complete the form details.

| Field | Required | Description |
|---|---|---|
| Form title | Yes | This is the title or name of the form that mobile users will see in the Skedulo Plus app. It has the following rules:
|
| Form description | Optional | The form description. This appears underneath the form title in the Skedulo Plus app. |
| Form type | Yes | Where the form will be displayed in Skedulo Plus is as follows:
|
| Display order | Yes | Where there are multiple forms shown in the same location, the display order determines the order in which the forms are shown. Forms with lower numbers appear higher in the list. |
-
Click Create when you have completed the form details.
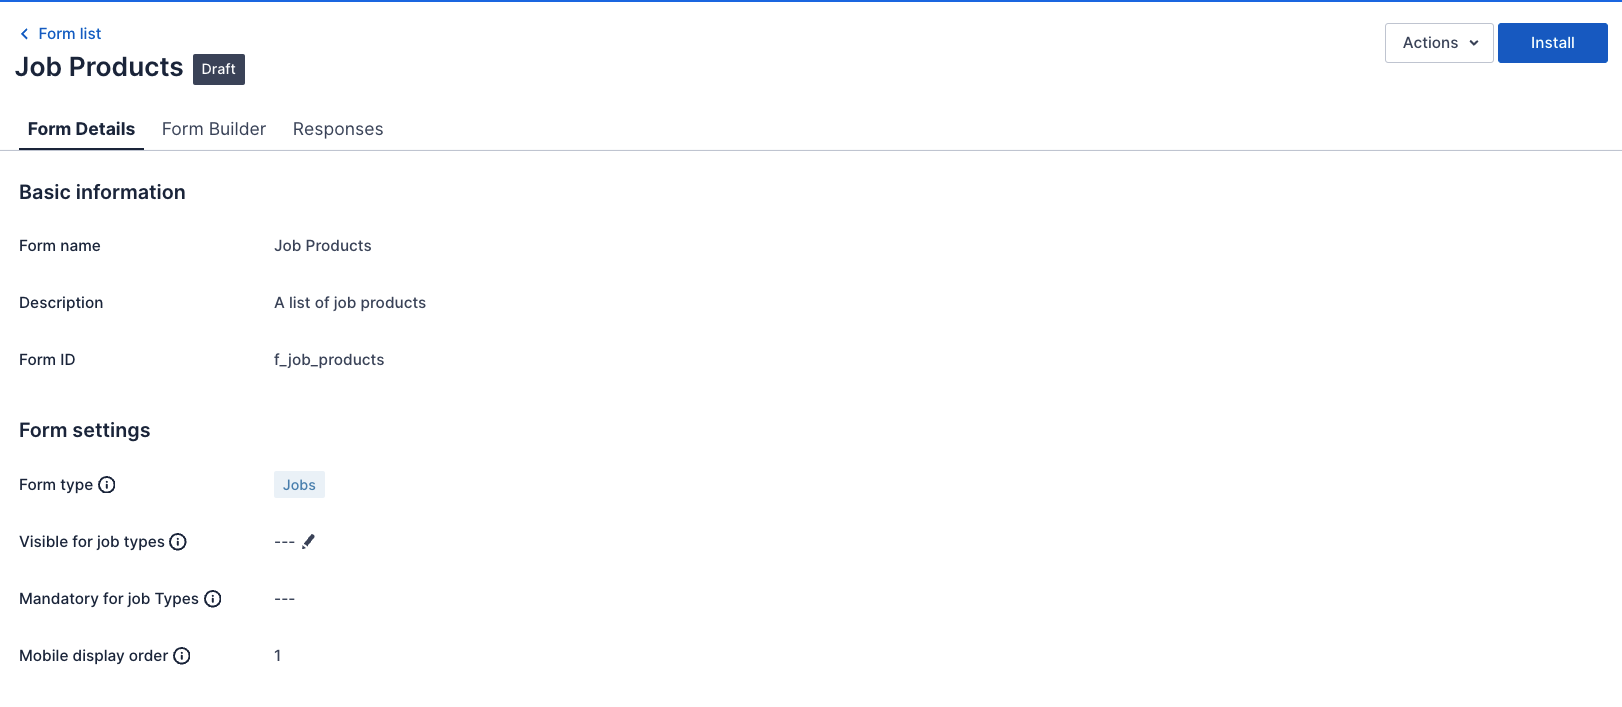
The form is created as a draft to be edited and configured using the Form Builder.

You’ve successfully created the form. Now you can edit the form details and start adding components.
Add components to forms
To add components to the form, refer to Build a Skedulo Plus form with Form Builder components for more detailed information.
Install forms
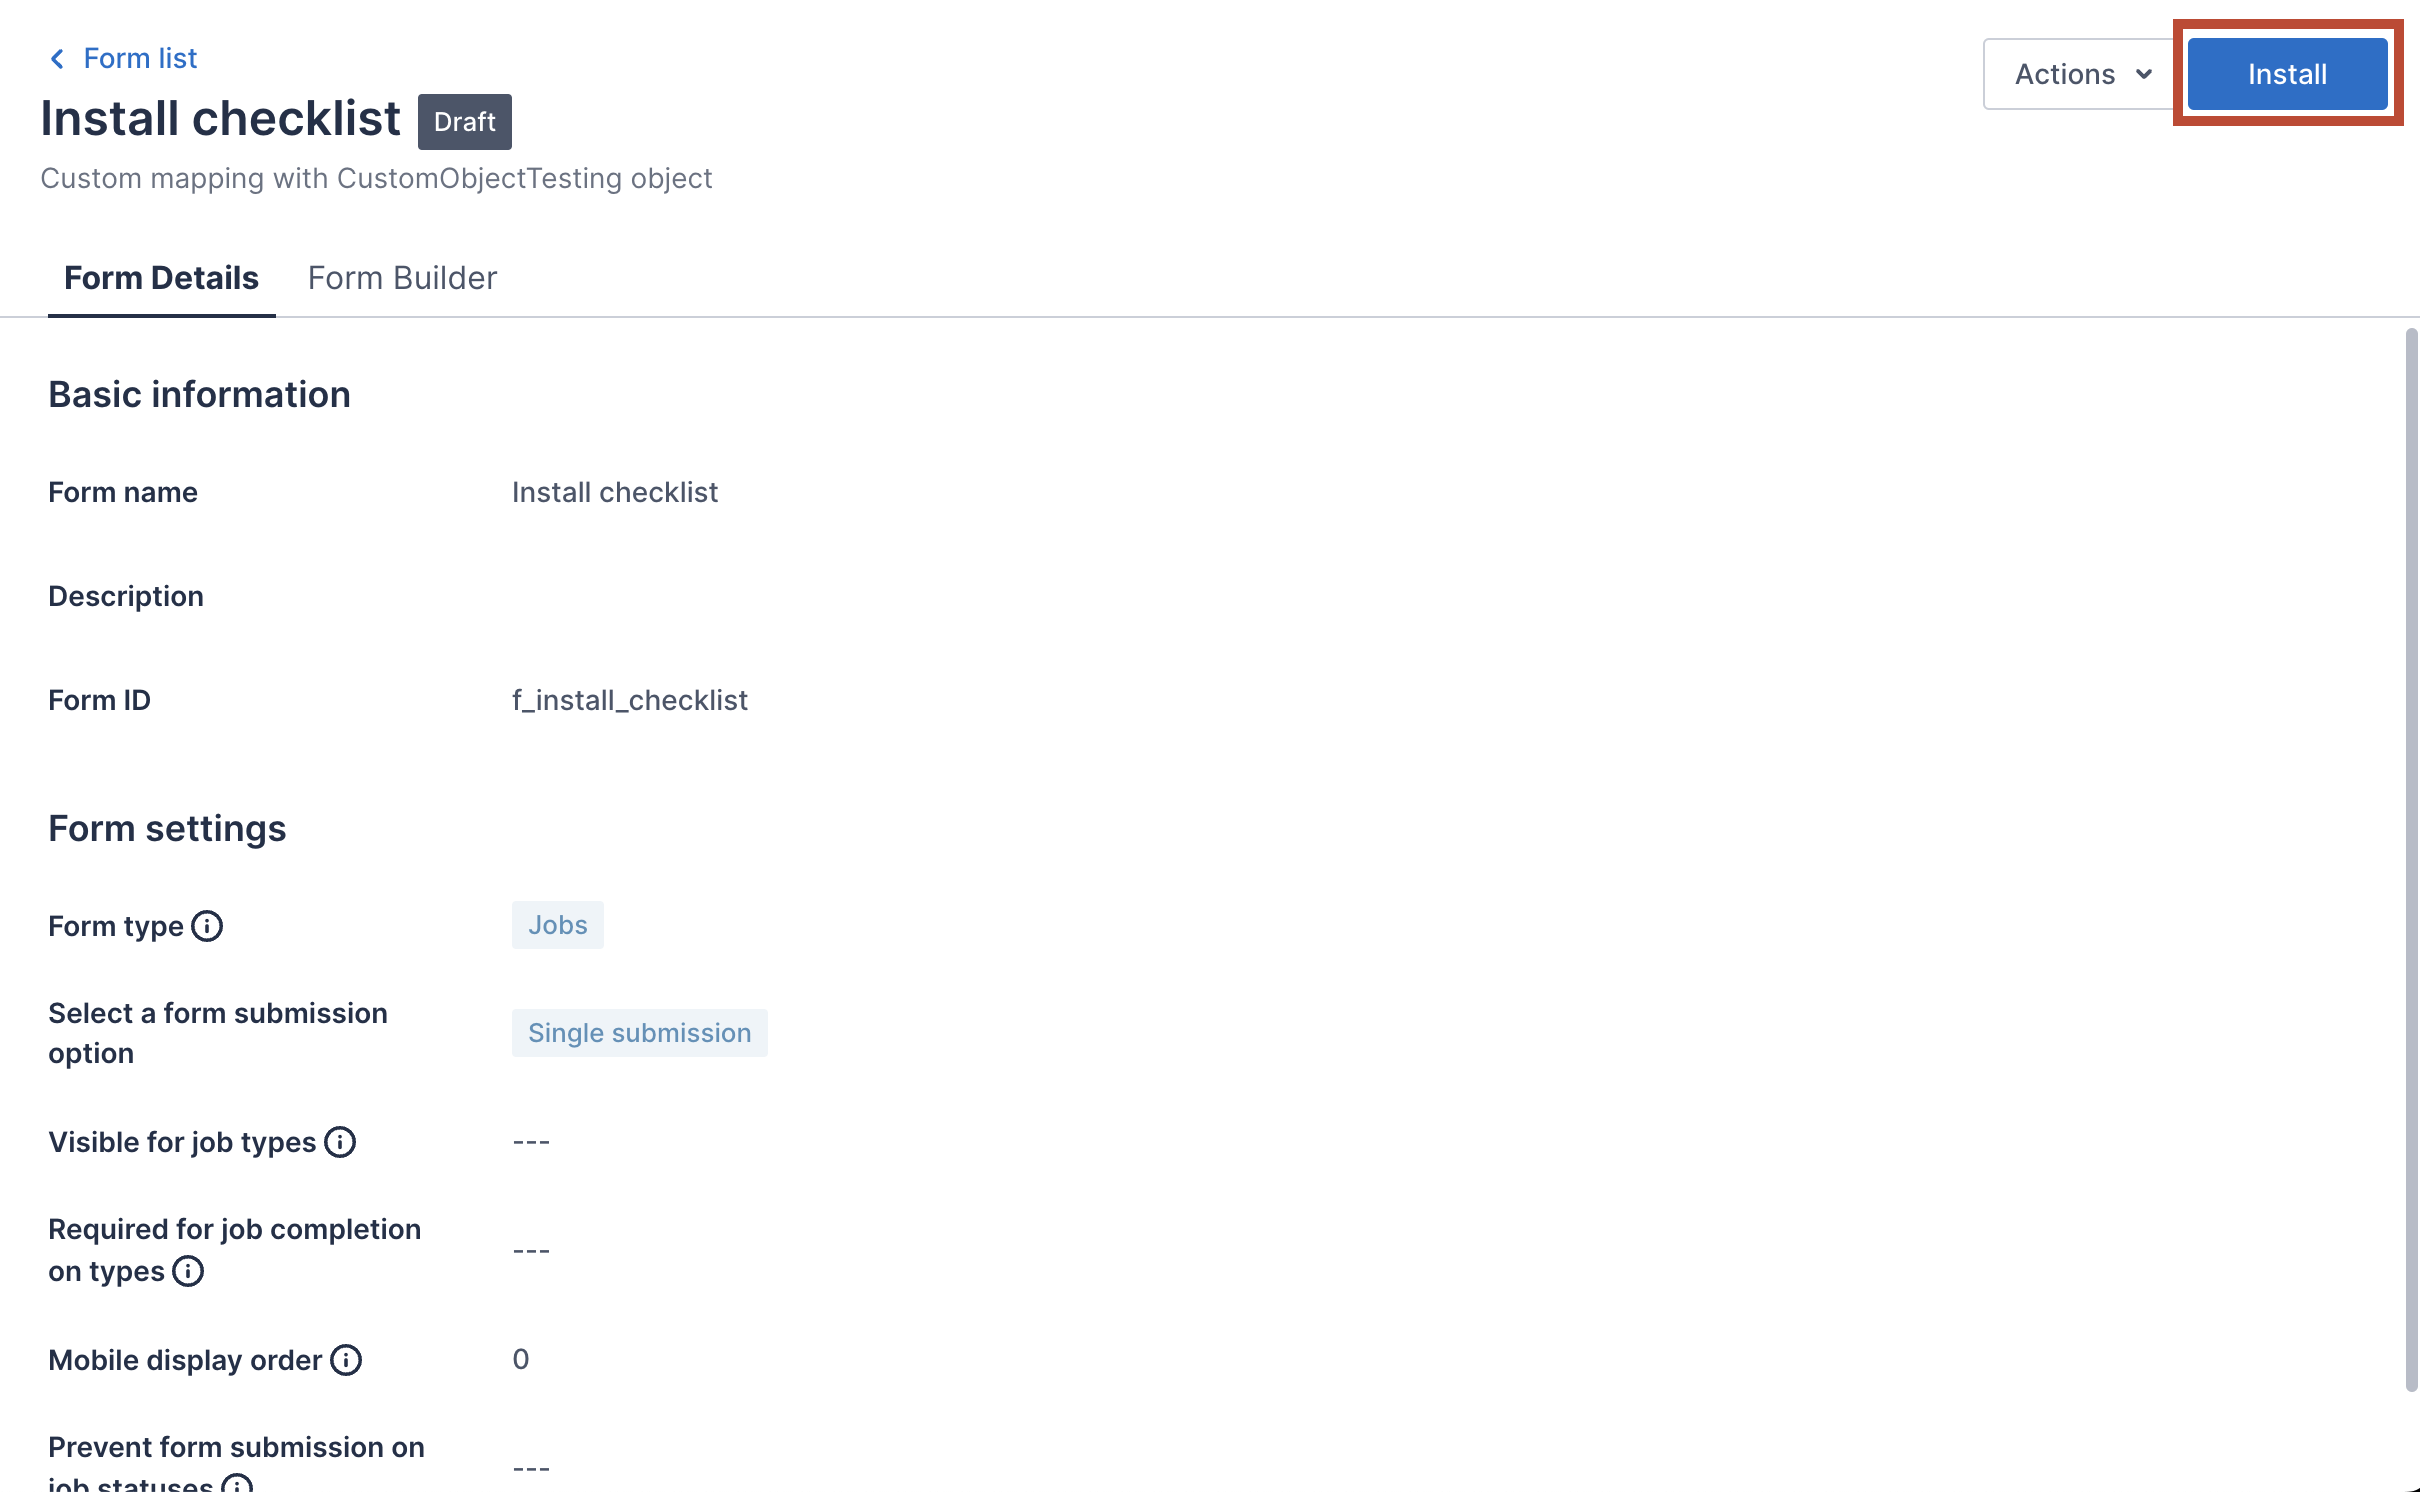
Once you’ve added all the needed components, you need to install the form to make it available in the Skedulo Plus app.
- Click Install at the top-right corner of the form details page.
The form status then changes from Draft to Installed. Your resources can now see and fill out the form.

Important
Once the form is installed, you cannot make any changes to it. To edit the form, you need to uninstall it.View data collected from the form
After resources submit their responses to the form, you can view the collected data in the Responses tab on the form details page.

Related links
- Create a data-mapped form to collect new data records
- Create a data-mapped form to update the job record
Feedback
Was this page helpful?